How to be a Clean, Coffee-Making Machine
- PressCoffee
- Dec, 12, 2020
- Behind the Bar
- Comments Off on How to be a Clean, Coffee-Making Machine
Making coffee at home seems like a simple process no matter the type of maker you use: insert coffee grounds, add water, and presto! You’ve got a cup of joe. However, there are many variables that can affect the taste of the end product such as grind size, coffee to water ratio, or water quality. Another sneaky factor that could alter your morning cup is the cleanliness of your equipment.
Whether you replicate our French press method at home, brew by pour-over, or love the ease of those K-cups, we’ve got some tips for keeping your equipment clean and your coffee flavorful.
If the pandemic kept you stationed at home this year, you probably started brewing your own coffee a lot more often. Over time, the build-up of hard water minerals and oil residue from the beans can affect the functioning of a coffee maker and the taste of your coffee. Drip brewers and Keurig machines are the perfect environments for moisture to get trapped and cause yeast, mold, or bacteria to grow. A study by the National Science Foundation in 2011 showed that nearly 50% of water reservoirs on these kinds of machines contain harmful microbes.
According to the USDA, “Some molds cause allergic reactions and respiratory problems. And a few molds, in the right conditions, produce ‘mycotoxins,’ poisonous substances that can make you sick.” Unless you thoroughly clean your machine regularly, these microscopic problems would go unseen. Although the NSF study was from a small sample and ultimately you may never experience any health problems, dirty equipment can still change the way your coffee tastes.
With any brewing method, you should wash removable parts with soap and water after every use. To get rid of the hard water minerals that build up inside the machine, Good Housekeeping recommends that you decalcify once a month. For a basic drip brewer, fill the reservoir with equal parts water and white vinegar, insert an empty paper filter in the basket, and start the brew cycle. Halfway through, turn off the machine and let it sit for 30 minutes. Finish the cycle and dump the vinegar water, then run it again with clean water to rinse away the mixture.
A Keurig machine can go longer between cleaning, especially if you keep a water filter in the reservoir. Replace those cartridges every two months and descale the machine after six months with the same water and vinegar mixture or Keurig’s Descaling Solution. Fill the reservoir with 10 ounces of either liquid and run two brew cycles as usual without a K-cup. Next, add fresh water to the reservoir and brew one more cycle, or until you feel satisfied that all of the vinegar or solution is gone. Other parts of the Keurig that can be cleaned as necessary are the top and bottom needles that puncture the pods. Simply unplug your machine and take out the pod holder, then insert a paper clip, or use Keurig’s brewer maintenance accessory, to remove any grounds from the needles. Reassemble and flush with a few cycles of water.

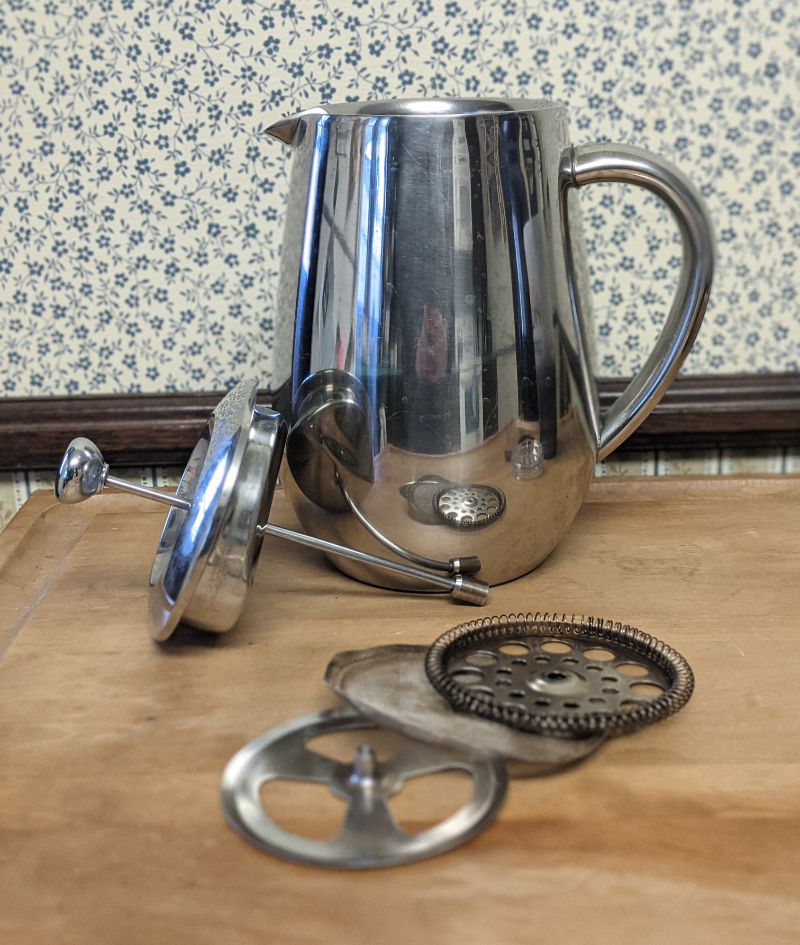
The cleaning process for more hands-on devices like the French press or Chemex is a lot more self-explanatory. Pour-over drippers and cones can be hand washed or ran through the dishwasher. To clean a Chemex, you can remove the wooden handle and regularly wash the glass beaker with soap and water. To remove coffee stains or mineral deposits, simply soak it with the same water and vinegar mixture and scrub with a long-handled brush. Rinse and then wash with soapy water again. With a French press, be sure to empty after each use and clean and dry thoroughly to prevent mold from forming on the plunger. Depending on how often you use it, be sure to unscrew the pieces of the plunger to remove grounds and oils from the screen and metal pieces. Most presses are dishwasher safe, but we recommended removing the beaker and handwashing the cage instead of running them together. For the brewing methods above you should also clean your kettle with water and vinegar once a month.
It’s also good to clean out your coffee grinder from time to time, especially if you love an oily dark roast or use a lot of flavored beans. Removable parts can be hand-washed but for the interworkings of a burr grinder, Katie has a secret weapon: Cheerios! Running a handful of this plain breakfast item through the machine helps soak up remaining oils and flavors. Be sure to run some old or unwanted coffee beans through the grinder afterward to purge any remaining cereal.

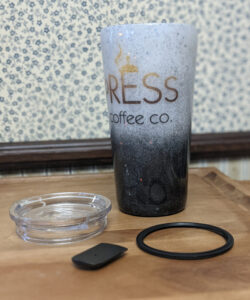
Lastly, don’t forget to detail your travel mugs! Even if you handwash your favorite vessel or run it through the dishwasher, moisture can get trapped inside the lid. There are all kinds of tumblers out there so be sure to read the instructions that come with it, but most should be able to come apart in order to get to all the nooks and crannies. Mugs such as the Yeti or Hydro Flask have a rubber seal on the lid that should be removed and cleaned often to prevent mold or bacteria from growing. To remove stains in the mug itself, take some baking soda and add enough water to form a paste and scrub.
Happy Brewing!

Pressing Newsletter
Social
Find us online:
Facebook
Instagram:
@PressCoffee_ic
@PupsofPress
TikTok
Yelp
Order through the Joe Coffee app!

